
Developing a complete physical environment
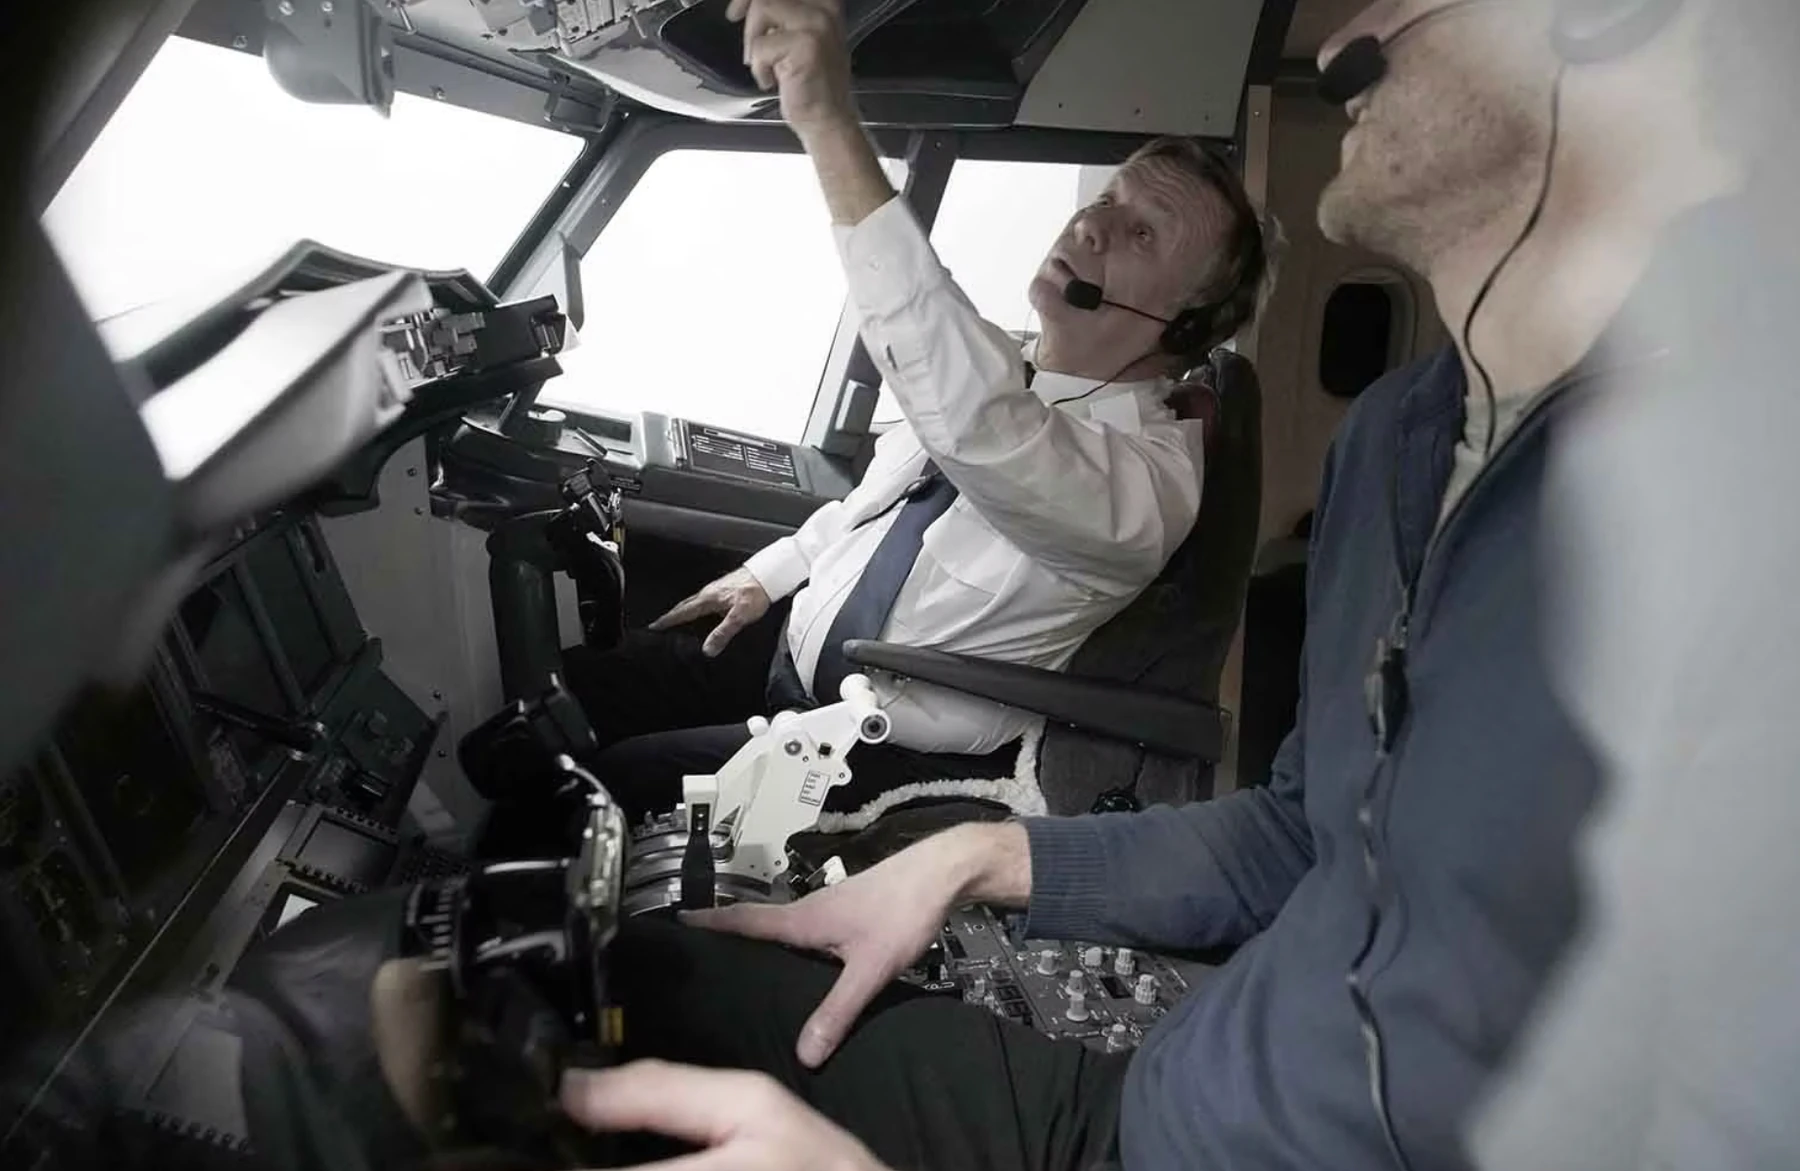
The flight deck is the centre of this project, but the installation extends beyond the instrument panel. Cockpit structure, seating, overhead panels, control positions and the rear cabin area form one physical environment. The wide views in this case study show how those elements come together.
The development task is to make the space useful as a simulator: participants need to reach the controls, an instructor or observer needs a workable view, and supporting hardware needs somewhere to live. These requirements have to be considered together rather than solved independently at the end of a build.
An interface that can be seen and touched
The supplied photographs show control columns, a central throttle assembly, radio and navigation panels, overhead switches and instrument displays. Close-up images allow the construction and layout to be examined without replacing the real product with an idealised rendering.
This is a hardware portfolio, not an operating manual for the aircraft. Panel labels and displayed indications within the photographs are part of the photographed development state. Unpowered screens or test indications should not be read as a claim about an aircraft configuration or a certified simulation standard.
Overhead and centre-pedestal integration
An enclosed cockpit presents different access challenges from a desktop simulator. Overhead assemblies occupy space above the occupants, while the pedestal sits between the seats. Both need to fit their physical setting and connect to the wider system.
Our separate prototype programmes explore related aspects of interface construction and electronics access. The forward-overhead project investigates a remote-electronics approach. The early pedestal examples document assembly, wiring and illumination. Those programmes are explained separately; they should not be assumed to describe every component fitted in this completed simulator.
Seating and the surrounding cabin
The simulator includes a cabin-style seating area behind the flight deck. The photographs show the relationship between the rear seats and cockpit, along with seat backs, tray tables and the installed interior. This provides useful context for visitors and observers, as well as a fuller presentation of the build.
Red Cosmos Aviation has also repurposed aircraft seats and reupholstered them through its in-house team. Reusing suitable existing hardware is one way we explore cost-effective physical realism, while evaluating its role in a non-flying simulator environment.
From prototype structure to installation
The development archive includes early structural assemblies, panel mock-ups and workshop photographs. These reveal the practical stages behind a completed cockpit: establishing shape, testing fit, resolving interfaces and bringing multiple assemblies into a shared structure.
Early construction materials are not necessarily the final production specification. A prototype can answer a question about geometry, reach or installation access before a more expensive material or finish is justified. The production route needs its own decisions about intended use, repeated handling and serviceability.
Discussing a comparable project
For an airliner simulator enquiry, useful starting information includes the intended application, room layout, access route, number of participants and the level of physical enclosure required. It is also helpful to identify who will maintain the system and which tasks need straightforward local access.
The installation pictured is non-accredited. No aircraft-manufacturer affiliation, regulatory approval or training credit is claimed. Any future specification, software integration, availability and support scope would need to be agreed individually.