
Start with a useful question
An R&D programme is most valuable when it has a specific problem to explore. For simulator hardware, that might be an overhead assembly that is difficult to reach, a costly route to replacing a failed board or an installation that leaves too little space for support equipment.
We aim to look ahead at market needs while grounding development in these concrete constraints. A forecast is a working assumption to test, not a guarantee of future demand. The purpose is to identify promising directions early enough to shape the design.
Turn the idea into a testable arrangement
Before investing in a finished assembly, a development model can establish whether the concept is worth pursuing. It might demonstrate the shape of an enclosure, the relationship between a seat and its controls, or the practicality of routing a group of connectors to an accessible position.
Three-dimensional models and physical prototypes answer different questions. A digital model helps explore geometry and arrangement; a physical build lets the team handle the parts and discover issues that become apparent only during assembly or use. Product-development guidance also connects market validation, material selection, prototypes and testing [4].
Use economical materials for the right questions
We use lower-cost materials during early development so that a change in direction does not require replacing a finished production item. Sheet material, reusable structural elements and printed parts can all have a role where appropriate to the question being investigated.
The material should suit the test. A mock-up that establishes fit does not automatically prove durability, and a printed demonstration part does not automatically establish a production specification. Moving towards production means revisiting the material, construction method and expected conditions of use.
A practical example: the forward overhead
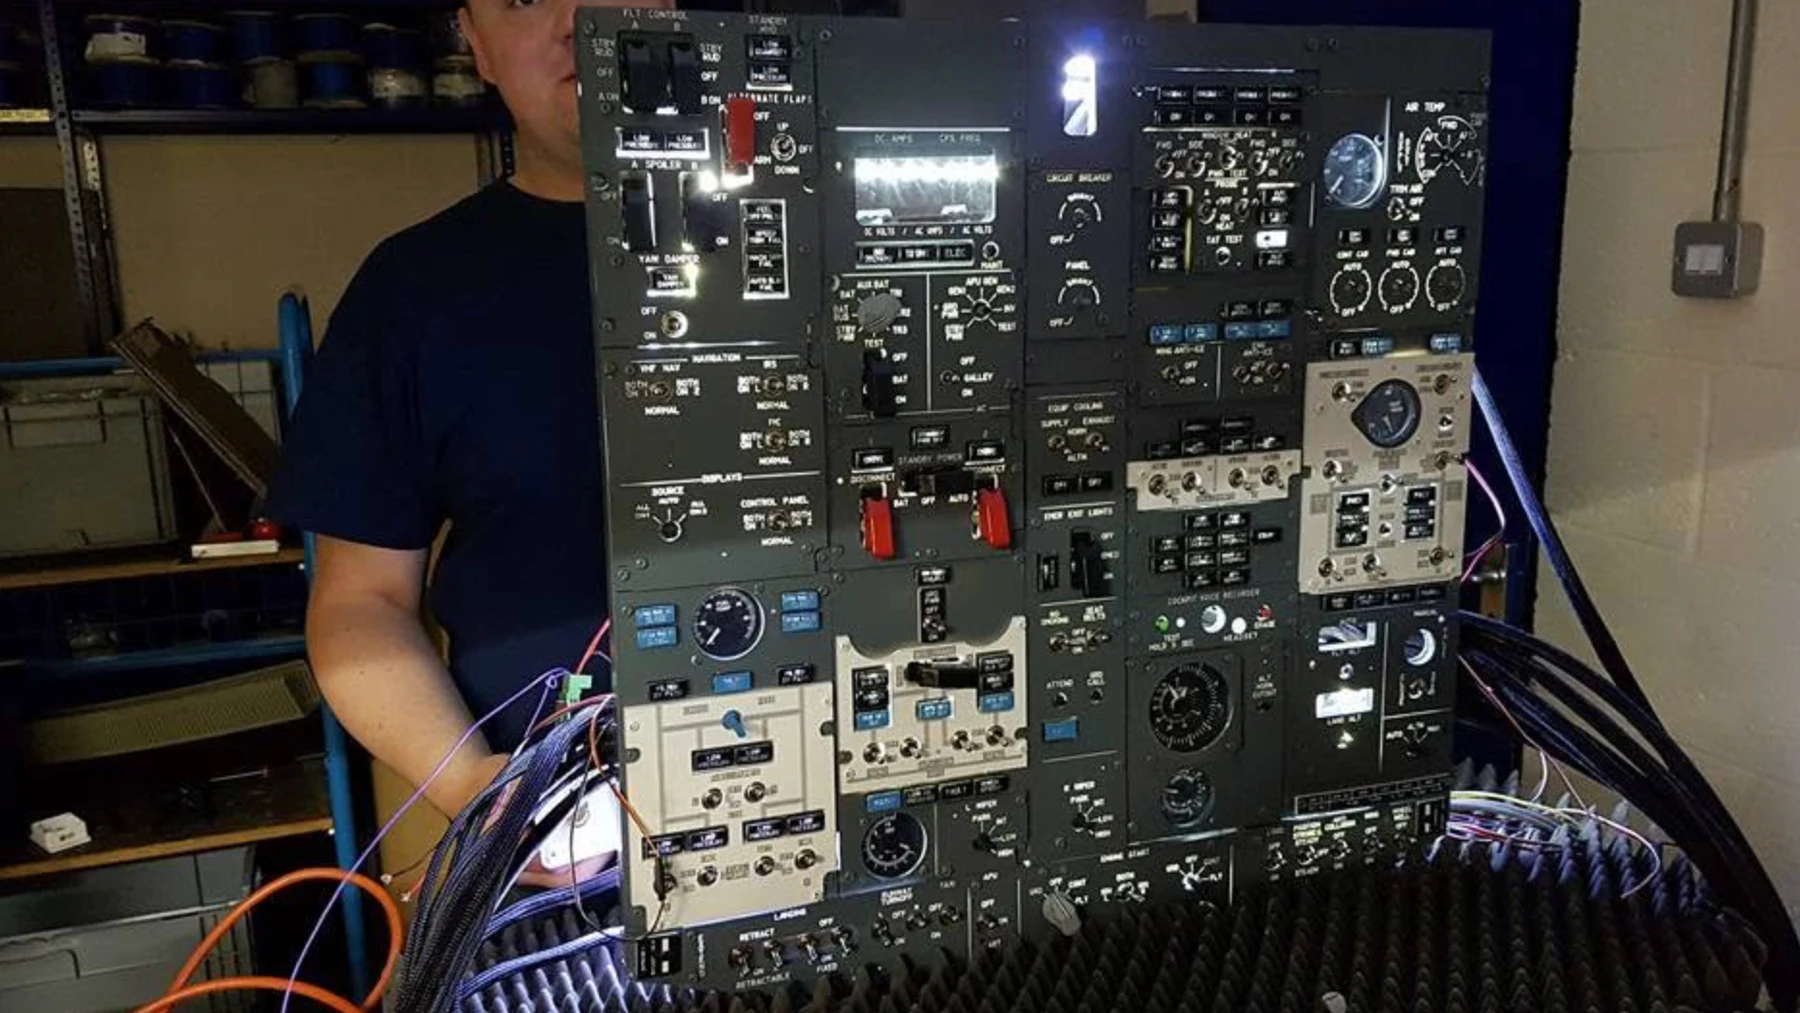
The forward-overhead prototype programme considers separating the participant-facing interface from its supporting electronics. Instead of placing all the PCB hardware behind an awkward-to-access cockpit panel, the experimental concept locates that hardware near the instructor station.
The intention is to make investigation and module replacement possible without dismantling the simulator. The photographs show the prototype interface and wiring looms. They illustrate the work in progress; they are not presented as evidence of a validated service-time reduction or a finished retail product.
Learning from assembly and revision
The path from concept to useful hardware includes ideas that need to be altered. Component spacing, connector locations, enclosure depth and cable management can all influence whether an arrangement is practical. A visible prototype is therefore a record of questions being explored, not simply an unfinished product photograph.
We want the website to make that development visible. Early pedestal assemblies, open enclosures and overhead wiring are included alongside completed systems so that visitors can see the breadth of work involved.
Define the next stage before scaling up
A promising prototype needs a clear route into its next phase. Useful questions include which functions have been demonstrated, what remains uncertain, how the assembly would be reproduced and which parts should remain accessible after installation.
For a development enquiry, describe the current limitation, the proposed use and the constraints that cannot change. We can then discuss whether the next useful step is a layout study, a component prototype, an interface experiment or a broader simulator build.